Gardening can be an expensive hobby if you purchase all your plants as potted nursery specimens, instead of seed. Fortunately, most vegetables and ornamental plants can be started from seeds, which offers a much less expensive way to populate your garden. Many vegetables and annual flowers are especially easy to grow from seeds. Perennial flowers can be harder to start from seeds, but the cost-savings can be even greater since perennials tend to cost considerably more when purchased as potted nursery plants.
Many fast-growing seeds can be planted directly into the garden, but in cold climates, slow-growing species may not have enough time to reach maturity if they are planted outdoors. Tomatoes, for example, require warm soil to germinate and take a long time to reach maturity, and thus they are usually started indoors well before the last frost date. A package of seeds will usually announce if the plant should be started indoors, with instructions that include phrases such as “start indoors 8 weeks before last expected frost date in your area.”
Each type of plant has its own particular needs for starting it indoors. Seed depth, type of growing medium, and water and light exposure needs will all vary depending on the species. But the general process is the same for germinating seeds and growing seedlings you can transplant into the outdoor garden.
Reading a Seed Package
The printed instructions on the back of a seed package will give you a lot of information on how (and if) you should start the seeds indoors. The information printed there will not only tell you if the plant is a good candidate for indoor starting, but also what conditions you’ll need to supply and what to expect as the seeds germinate and grow into seedlings. Among the most important information to look for:
- Planting time: Most seed packets will tell you quite clearly if the seeds can or should be started indoors. For some species (tomatoes, for example), it is virtually mandatory to start seeds indoors in cold-weather climates. For other species it may be optional, and for other fast-growing species, there may be no indoor starting information at all—these plants are best planted directly in the outdoor garden.
- Days to maturity: This will tell you how long the plants take to produce edible fruit or ornamental flowers. Fast-maturing plants can usually be planted right in the garden, while slow-maturing plants are better candidates for starting indoors while outdoor temperatures are still cold. Some tomato plants take as much as 100 days to reach fruit-producing maturity. If you want tomatoes in July, this means the seeds need to be started in early April.
- Light and water needs: The seed package will tell you if the seeds need lots of light. If so, starting them indoors may require a fluorescent grow light—or you may need to reserve your sunniest window for seed-starting.
- Soil needs: Some seeds can be started in ordinary potting soil, while others require a porous, fine-grained seed-starting mix. The package may also suggest an optimal soil temperature for seeds to germinate. Seeds that require 70-degree soil to germinate will clearly need to be started indoors in cold-weather climates since the soil does not get adequately warm until late into May.
The seed package will also give a wealth of other information, such as days to germination, fertilizing needs, planting depth, and transplanting techniques.
What You’ll Need
Equipment / Tools
- Marker
- Grow light (if necessary)
Materials
- Planting trays and small containers
- Plant seeds
- Seed-starting mix or potting mix
- Labels
- Plastic bags or tray covers
Instructions
Prepare the Growing Medium
There are many good commercial potting mixes available that are suitable for starting seeds. Although they may be called “potting soil,” they actually contain no garden soil at all. Instead, they are a soilless mix containing materials such as peat moss, perlite, vermiculite, compost, pulverized limestone, or fine sand. This ordinary potting mix, the same type used for houseplants, is fine for starting many seeds. Since new seedlings don’t require fertilizer until they sprout their first true leaves, you don’t really need a mix that has additional fertilizer mixed in.
Some seeds—especially those that are very tiny—may do better in what is known as a seed-starting mix. Seed-starting mix is a special form of soilless potting mix that is especially porous and fine-grained. Seed-starting mix typically uses smaller particles of vermiculite and sand, and it omits the organic materials found in standard potting soil. This is because seeds do not require the nutrients provided by organic material to germinate and sprout. If you start seeds in a seed-starting mix, however, you generally need to transplant the seedlings into a standard potting soil as they begin to develop into larger plants.
For many plants, a seed-starting mix is the best choice, because the organic material in standard potting mix can lead to fungal problems. Avoid starting your seeds in outdoor garden soil, which can become compacted. And outdoor soil often contains weed seeds and disease pathogens that interfere with seeds germinating and sprouting.
Loosen and dampen the potting mix before you put it into seed-starting trays or individual containers. This process helps to achieve a uniform level of moisture. Dampen the mix to the consistency of a wrung-out sponge. It should be wet, but not dripping, with no dry lumps.
Fill the Containers
Use the pre-dampened potting mix to fill your chosen seed-starting trays or containers about two-thirds full. Tap the container on the tabletop to help the potting mix settle.
Gently firm the top of the mix with your hand or a small board. Don’t pack the potting mix tightly into the container—you want it to remain fluffy and aerated.
Gardener’s Tip
Seed-starting containers can be any small leftover containers you have around the house, such as old yogurt containers or six-pack seedling containers from nursery plants you purchased. Just make sure the container has holes in the bottom for drainage.
Plant the Seeds
Once you have your containers prepared, you can begin planting the seeds. Make sure you read the seed package for special instructions. Some seeds may require a period of pre-chilling or soaking, and some seeds need exposure to light in order to germinate.
Small seeds can be sprinkled on top of the potting mix. Larger seeds can be counted out and planted individually. Use at least three seeds per container, since not all seeds will germinate and not all that do germinate will survive. You can thin out extras later.
Finish Planting
Cover the seeds with some more dampened potting mix and then gently firm again.
Re-check your seed packet for information on how much potting mix should go on top of the seeds. Generally, the smaller the seeds, the less you need to cover them. There are a few seeds, such as lettuce, which germinate require light to and should barely be covered with potting mix.
Water the Seeds
Although the potting mix was pre-dampened, it is still a good idea to sprinkle some additional water on top of the newly planted seeds. This ensures that the top layer of mix won’t dry out and it also helps to firm the potting mix and ensure good contact between the seed the mix. With very small seeds, the best way to moisten them is with a spray mist bottle.
Control the Environment
The hardest part of starting seeds indoors is providing the optimal temperature, light, and humidity levels for them to germinate and sprout into seedlings.
Start by covering the trays or containers with clear plastic. This can be provided by rigid plastic domes or covers, as is included with commercial seed-starting trays, or with clear plastic bags if you are using repurposed containers for starting your seeds. The plastic covering serves to hold in heat and moisture.
Next, move the container to a warm, draft-free spot where you can check it daily. Most seeds germinate best when the temperature is between 65 and 70 degrees Fahrenheit, but check the information on the seed packet for specifics. The top of a refrigerator is an ideal spot, or you could consider purchasing heating mats specially made for germinating the seeds. Heating mats go under the potting containers and heat the soil from below. You will usually need to water more frequently when using heating mats. Caution: Only use heating mats certified for seed-starting use.
Remove the plastic as soon as you see a seedling emerging and move the containers into indirect light. In general, seeds will not need light until they emerge. From this point forward, be sure the potting mix stays moist, but not wet. Overly damp soil can lead fungal disease. This is a critical point in the seedlings growth, as they need both slightly damp soil and good air circulation. Improper conditions can lead to damping off disease, a fungal disease that quickly kills seedlings. You can minimize the chances for damping off disease by watering the containers from below, and by providing good air circulation once the seedlings have sprouted.
Monitor Seedling Growth
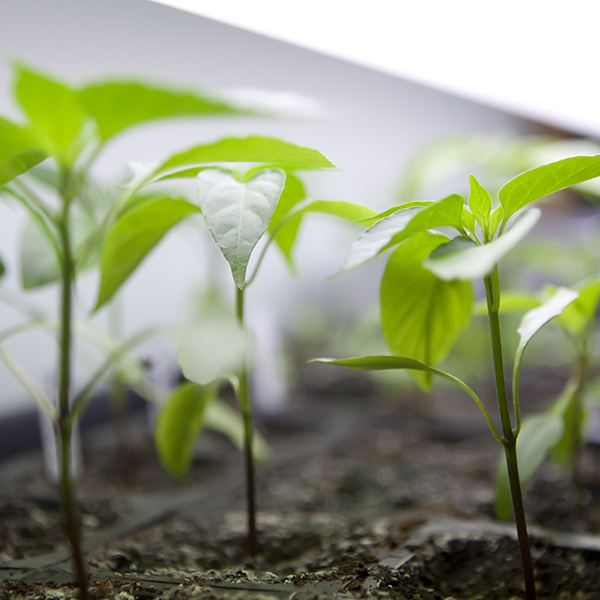
Once your seedlings begin poking through the soil, they will start to straighten up and unfurl. What looks like two leaves will appear. These are leaf-like structures, called cotyledons, that are part of the seed and serve as food sources until true leaves are formed and the plant becomes capable of photosynthesis. This is the point at which you should move your seedlings under a light source.
Your seedlings will need between 12 to 18 hours of light each day. This may seem extreme, but artificial light and even the low rays of the winter sun are not as intense as the full summer sun. The best way to ensure regular, long doses of light is to attach a fluorescent or high-intensity plant lights to an automatic timer.
Begin Feeding
As the seedling grows, the cotyledons will wither and the first “true” leaves will form. This is when your seedling begins actively photosynthesizing. Since it is growing in a soilless mix, you will need to give it some supplemental feeding at this point. Use a balanced fertilizer or one high in nitrogen and potassium to encourage good roots and healthy growth. Excessive fertilizer will overwhelm the seedlings, so use a water-soluble fertilizer diluted to one-half the normal strength. The seedlings should be lightly fed every two weeks.
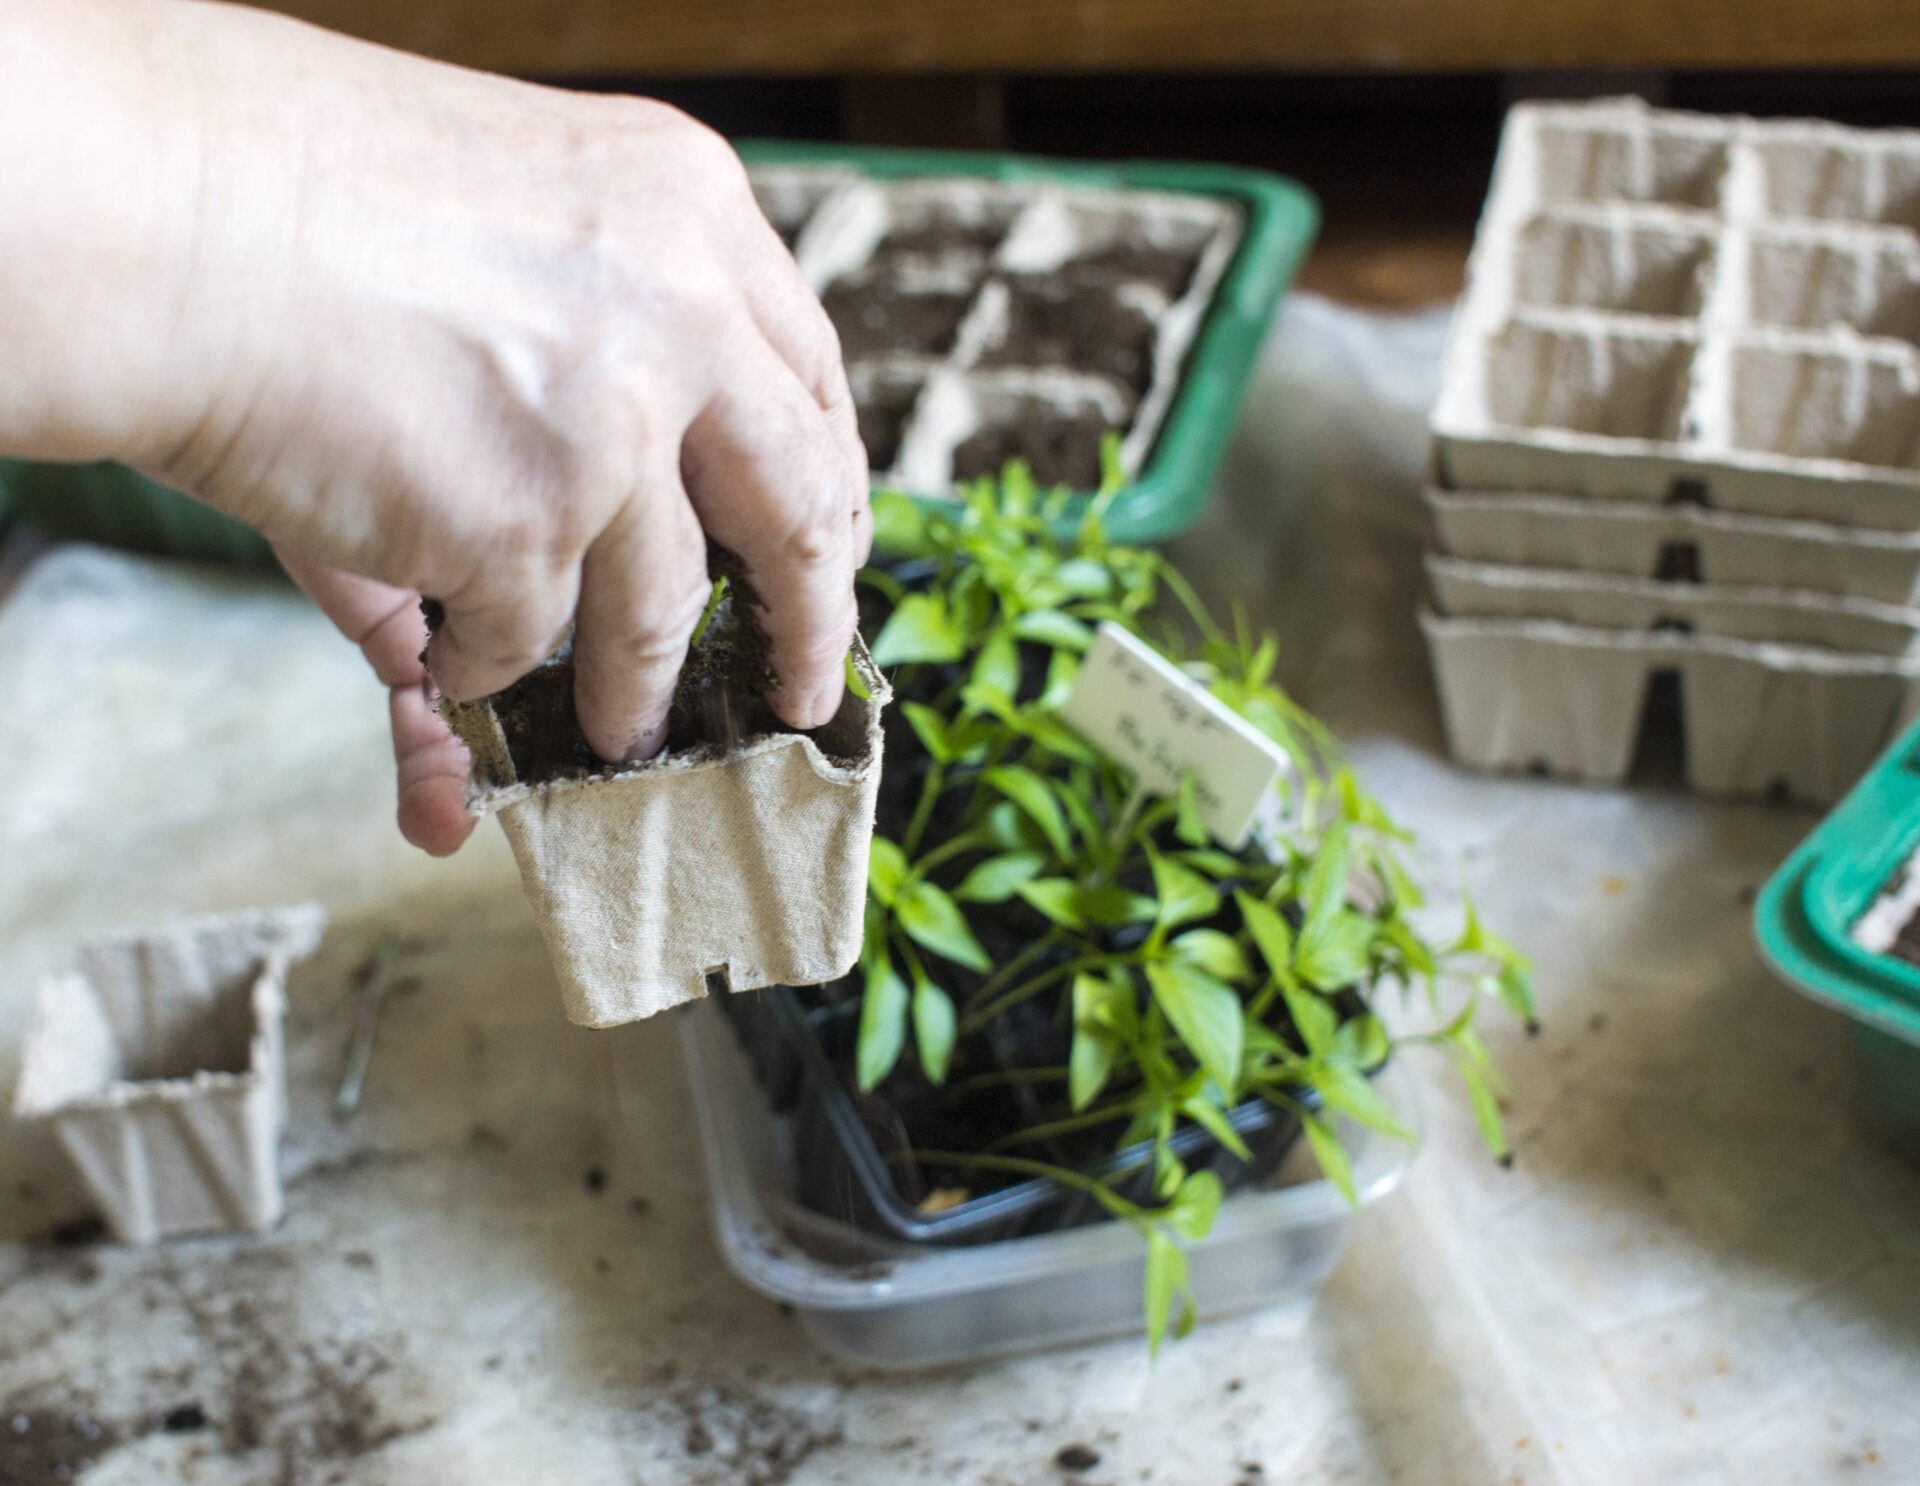
Seedlings can remain in their original containers until you are ready to plant them in their permanent spots. However, it’s common to move the seedlings into a larger pot once several sets of leaves have formed and the seedling is a couple of inches tall. This is called “potting up,” and it allows the roots more room to develop. Three to four-inch pots are good sizes to pot up to, allowing plenty of room for root growth.
If more than one seedling is growing in the same pot, either separate the seedlings into individual pots or cut off all but the strongest seedling. Don’t try to pull out the extra seedlings, since this may damage the roots of remaining seedling.
Harden Off the Seedlings
By the time the temperature warms outside, you should have stocky, healthy young plants. Before moving them out into the garden, take a week or two to gradually introduce them to their new growing conditions. This is called hardening off. It gives the plants a chance to acclimate to sunlight, drying winds, and climate changes.
Move the plants to a shady, sheltered outdoor spot for increasing lengths of time each day, over a period of seven to fourteen days. Gradually increase the amount of outdoor time, and introduce direct sunlight as they grow accustomed to outdoor conditions. At the start of this period, you will bring your seedlings indoors or cover them at night if the temperature looks like it will dip overnight. By the end of the hardening off period, you can leave them outdoors all night, uncovered, so long as the overnight temperature doesn’t dip below about 50 degrees Fahrenheit.
Once they can comfortably thrive outdoors through the night, your seedlings are ready to transplant into the garden or into permanent outdoor containers. Water your seedlings well before and after transplanting. Try not to transplant during the hottest, sunniest part of the day.
Written by Marie Iannotti from thespruce.com